Using ajax
Using fetch() and then()
There are a number of popular open source development tools available for use within the software development process. Many of these tools have similar features and offer a variety of different approaches to software development. It can be difficult to know where to begin looking when it comes to choosing the right open source development tool for you.
There are a few key features that top developer tools should have:
We’ll go over the top open-source development tools you should be using in 2022. Without these tools, the work we do, the deadlines we hit, the bugs we find and squash before release would be impossible.

Visual Studio Code is a lightweight, yet powerful source code editor that runs on your desktop and is available for Windows, macOS, and Linux. It has a large ecosystem of extensions for other languages (such as C++, C#, Java, Python, and PHP, to name a few). It has built-in support for JavaScript, TypeScript, and Node.js, as well as a rich ecosystem of extensions for other languages.
VS Code is the best from a feature-point-of-view, UX-wise, and extensions-wise. VS Code is also constantly improving. Every month, it releases new functionality and improvements.

A low-code platform, Budibase brings everything together to create internal tools and custom business apps, including dashboards, administration panels, approval apps, customer portals, and everything in between. You can quickly convert data and processes into powerful internal tools.
Budibase allows users to self-host their apps on their own infrastructure. Using automated tasks, users can automate email notifications, trigger webhooks, and send a report. Budibase exports real single-page applications that provide end-users with a better, more performant experience.

Snyk is a developer-first platform for building cloud-native applications securely. It also helps and encourages developers to mitigate open source vulnerabilities during development by providing assistance.
Software composition analysis is a terrible ordeal. I don’t know anyone who enjoys doing it. Snyk, on the other hand, makes it easy. It supports all the major IDEs, auto-remediation of security vulnerabilities, and visualization of dependencies.

PostHog is a product analytics platform developed for big businesses. It is open source, and it has a broader vision of the tools required to make a product succeed.
PostHog can be integrated into your infrastructure and provide a variety of monitoring tools to enhance your product, such as session recording, heatmaps, and feature flags. The Posthog community and team are fast and helpful.

Prisma is an open-source next-generation ORM. It consists of the following parts:
Prisma Studio: An interface to view and edit data in your database
Prisma Client: Auto-generated and safe query builder for Node.js & TypeScript
Prisma Migrate: Migration system
Prisma’s type-safe API is straightforward to use across the frontend and backend, as well as being easier to understand and maintain.

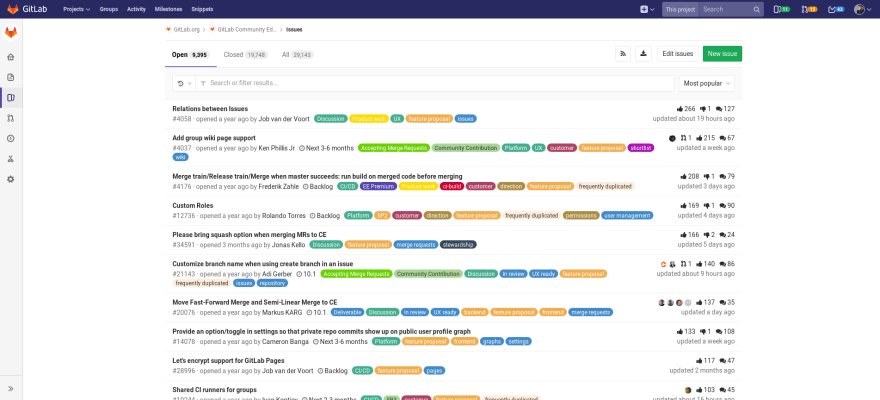
In addition to the DevOps lifecycle, GitLab spans the entire software development process. There are likely a multitude of applications in your DevOps process if you aren’t using GitLab. These layers take time to integrate, manage, configure and maintain, slowing down your team and deployments. A single application will speed up your workflow and help you create better software faster.
Gitlab has additional features that GitHub does not, including code analytics, service desk, design management, and time tracking. Gitlab is excellent at package management because it enables teams to manage containers, package dependencies, and create artifacts with minimal effort. The private, container and package registry are built-in and preconfigured out-of-the-box to work seamlessly with GitLab source code management and CI/CD pipelines.
Time-saving: 9/10
Documentation: 10/10
Integrations: 9/10
Community: 9/10
Release/Updates: 8/10

A storybook is a tool for UI development. It makes development faster and easier by isolating components, allowing you to work on one component at a time, and eliminating the need to start up a complex dev environment or store specific data in your database. As a result, you can develop entire UIs without starting up a complicated dev stack, forcing certain data into your database, or navigating your app.
All popular frontend frameworks, including React, Vue, and Svelte, are supported by Storybook. It has a large community and an extensive add-on library. However, the most important thing is that it allows us to present our components in an isolated environment. Developers are also more aware of the components at their disposal, resulting in less duplication and overuse.
Time-saving: 4/10
Documentation: 8/10
Integrations: 9/10
Community: 9/10
Release/Updates: 7/10

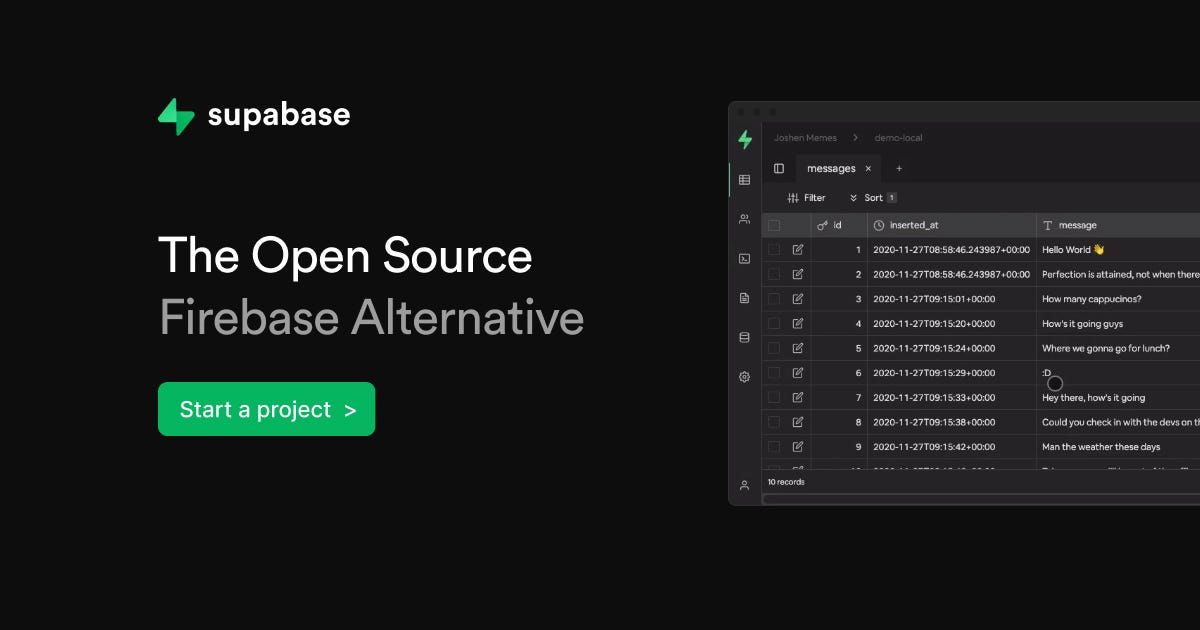
Supabase is an open-source Firebase alternative. It is a suite of open-source tools stitched together to build a seamless developer experience.
Supabase comes with a host of functions, including authentication, storage, and more. Another advantage is that Supabase’s open source competitor Firebase charges for API calls, which makes paying at the end of the month a bit uncomfortable.
Time-saving: 5/10
Documentation: 6/10
Integrations: 6/10
Community: 10/10
Release/Updates: 9/10
Credit goes to Resource : Top 8 Best Open Source Development Tools | Medium
Selecting Elements
Selection of the elements using document
Query selection
Creating and Inserting elements
Important to know about Class
const logo = document.querySelector(‘.nav__logo’); // elementRecently found 2 useful tricks that help me a lot in my day-to-day work.
1) Instantly record your screen, just press (Win + Alt + R)
2) Easy to voice type and detect your work, just press (Win + H), and a detecting bar will appear on top. now just talk to your system, and it will type for you.
Hope this will make your life easy. 😉
I actually have struggled with masses even as my list is getting large and want to retrieve the rows more than 5K. Here I located the answer is to apply the Recursive call to retrieve more than 5K items.
Here we're doing the recursive call to the GetListItems() function. This will fetch information withinside the bunch of a thousand objects and concatenate it to the response variable.
Here data.d.__next includes the URL to get the next set of items. In case we don’t have more items left to fetch, it'll not call GetListItems() function.
Hope many of us will find this helpful.
Prior to SharePoint 2019, SharePoint Administrators, SharePoint Developers, and Power Users could use SharePoint Designer for no-code workflow development. With the release of SharePoint 2019 and SharePoint Online, modern process automation is developed through Microsoft Flow. SharePoint Online leverages modern tools, like PowerApps and Flow for forms and workflow deployment.
As with the SharePoint 2013 workflow, developers can execute REST calls to accomplish workflow actions. To test REST calls that will be executed in a Flow, a tool like Postman can be leveraged. To successfully send REST calls, an access token will need to be obtained from Microsoft Azure Access Services. The below steps detail the process of obtaining an access token.
To begin, copy the text in the below box into a notepad. This text is generalized headers for the body of the HTTP Post request to retrieve the token. The text in bold will be replaced as the steps to obtain the token are followed.
grant_type=client_credentials
&resource=00000003-0000-0ff1-ce00-000000000000/TENANT-NAME.sharepoint.com@TENANT-ID
&client_id= GENERATED CLIENT-ID@TENANT-ID
&client_secret= GENERATED CLIENT-SECRET
Navigate to https://[TENANT -NAME].sharepoint.com/_layouts/15/appregnew.aspx
Note: Client Id generated during APP registration appended with an @, followed by the Tenant ID
<AppPermissionRequests AllowAppOnlyPolicy="true"><AppPermissionRequest
Scope="http://sharepoint/content/sitecollection/web"
Right="Read"/></AppPermissionRequests>
5. Click Create
In notepad, update the text as detailed below:
| Key | Value | Notes |
| grant_type | client_credentials | |
| resource | [SharePoint Online application principal ID]/[Tenant-Name].sharepoint.com@[Tenant-ID] | [SharePoint Online application principal ID] is always 00000003-0000-0ff1-ce00-000000000000
[Tenant-Name] with the tenant value as it appears in the sharepoint.com URL for the tenant [Tenant-ID] was obtained on Site Setting > App Permissions The GUID on the right side of the @ is the Tenant ID
The / and @ are literal values. Use them where specified
|
| client_id | [Client-ID]@[Tenant-ID]
| Obtain this value by doing the following Site Setting > App Permissions Locate the APP identifier that contains the Client Id generated during APP registration. Copy everything to the right of | (pipe) character.
|
| client_secret | The client secret that was generated during APP registration |
To obtain the access token, send a POST request to Microsoft Azure Access Control Service (ACS) account associated with Tenant. The URL is in the following format:
| https://accounts.accesscontrol.windows.net/[Tenant-ID]/tokens/OAuth/2 | [Tenant-ID] was obtained on Site Setting > App Permissions The GUID on the right side of the @ is the Tenant ID
|
| Key | Value |
| Content-Type | application/x-www-form-urlencoded |
Copy the updated Body text from the notepad into the Body of the postman request.
On success, the response body will contain an access-token key.
References
https://anexinet.com/blog/getting-an-access-token-for-sharepoint-online/
https://docs.microsoft.com/en-us/sharepoint/dev/sp-add-ins/add-in-permissions-in-sharepoint
https://docs.microsoft.com/en-us/sharepoint/hybrid/configure-server-to-server-authentication
Let’s download all attachments from a list. Following script creates a folder for every list object and downloads all attachments to the local disk.